Printing in E101d
Everything you need to know about using the printer in E101d
Important Information
For in person guidance on using the printer: Book a time with a technologist
Starting up the Printer
- Use the round power button on the right side of the printer's top to turn the printer on or wake it from sleeping. (If button is lit already, the printer is sleeping)
- It may take the printer 5-10 minutes to boot up and work through its starting routine
- Low ink: if there's a message and yellow ⚠️ symbol about ink, you can ignore it and still print. If there is a red 🛑 symbol showing there's no ink, you can email Graham
Communicating with the Printer
- Log onto the Mac beside the printer. This tutorial demonstrates printing from Photoshop, but you should be able to print from any program.
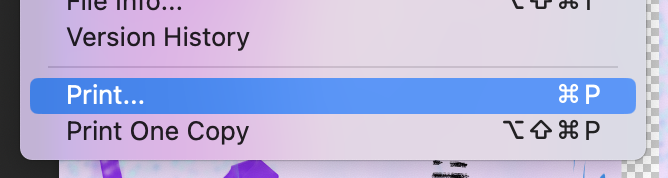
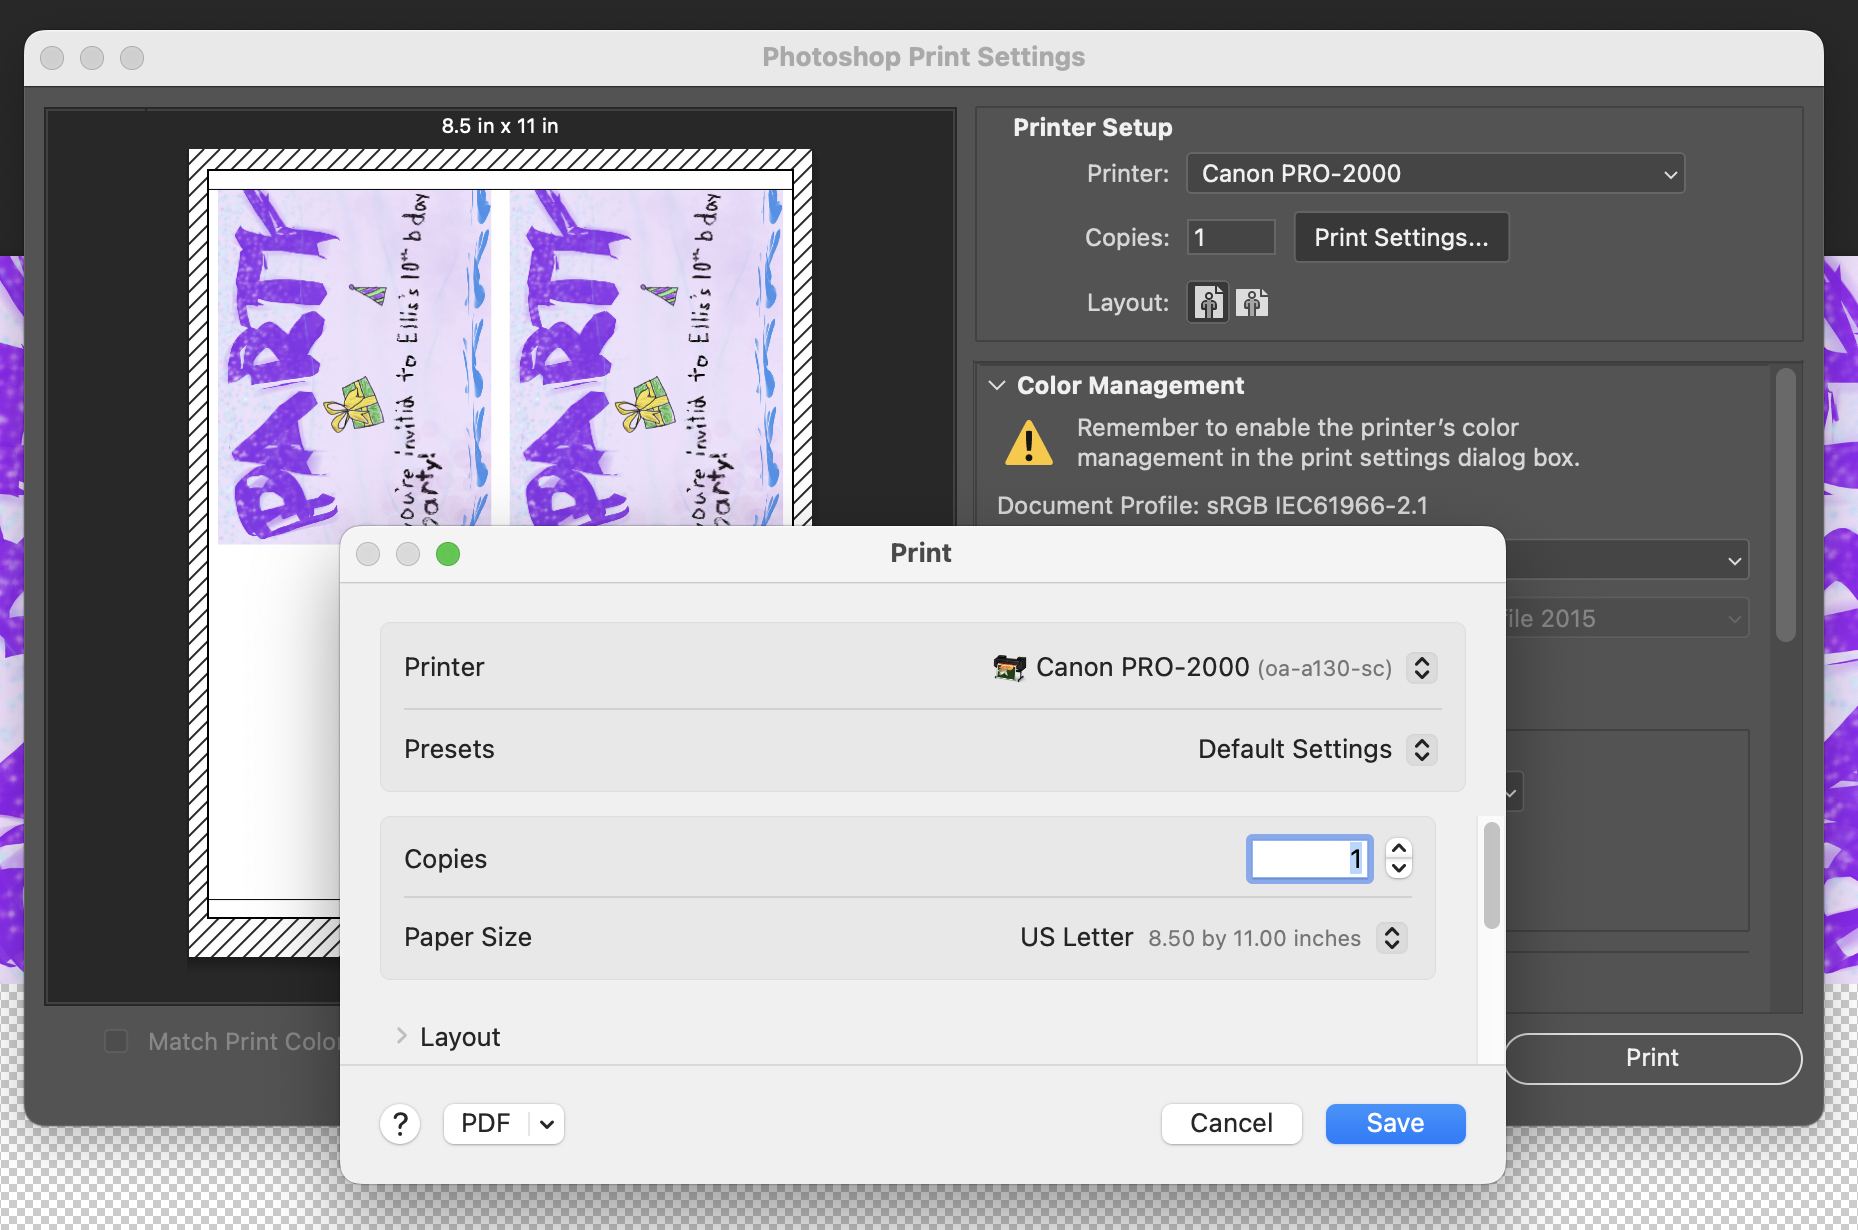
- In Photoshop, set up your image in a document and go to File > Print… or Command + P
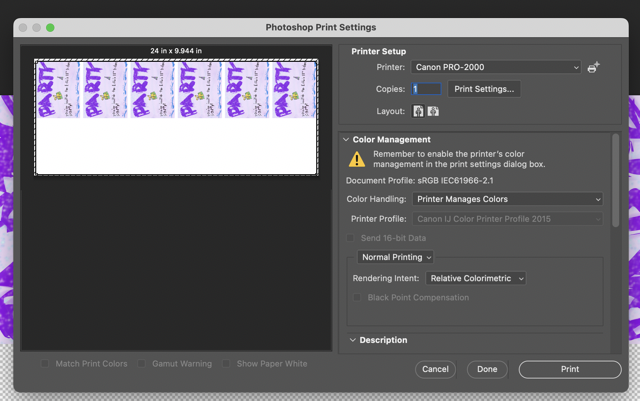
- In the dialog box, make sure under Printer: Canon PRO-2100 is selected
- Next select Print Settings
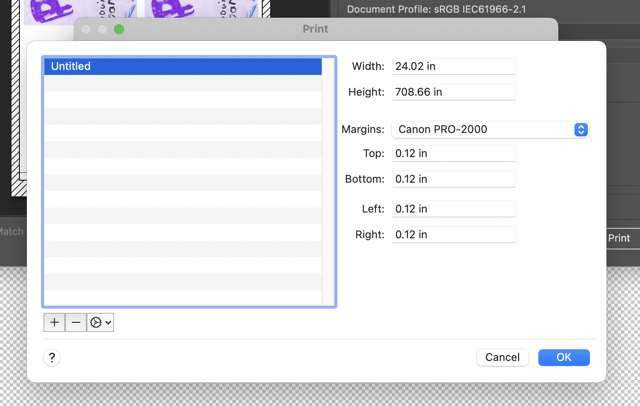
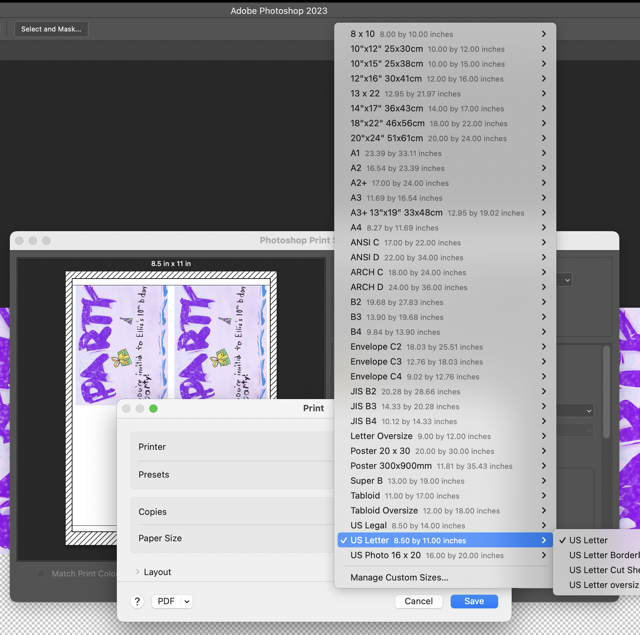
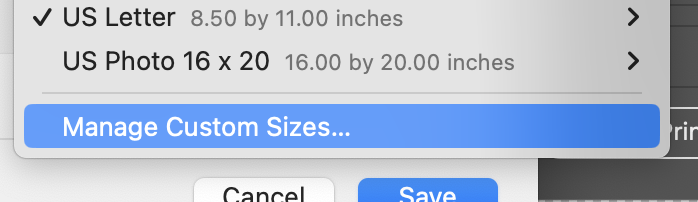
- Select the Paper Size drop-down menu. You should see multiple options here that you can select from, or create your own by clicking Manage Custom Sizes…
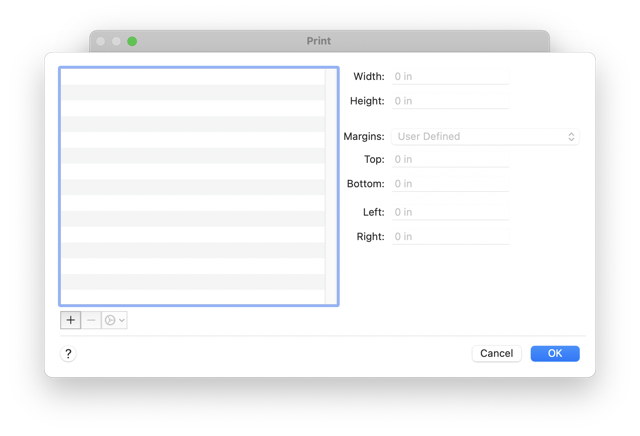
- Use the + button to create a new profile
- Select Canon PRO-2100 for the margin dropdown. This will automatically fill in the margins and maximum print size.
- Change the height to an appropriate size.
- With your custom profile selected, click OK
- When you're done, hit Save
- You should see your preview image on the left. You may need to change the Layout from vertical to horizontal. Remember, the printer will always cut the full 24” width of the paper roll. When you're ready, hit Print.
- The printer may take a minute to re-agitate the ink if it hasn't been used recently. It will print, cut, and let the print fall (catch it!).
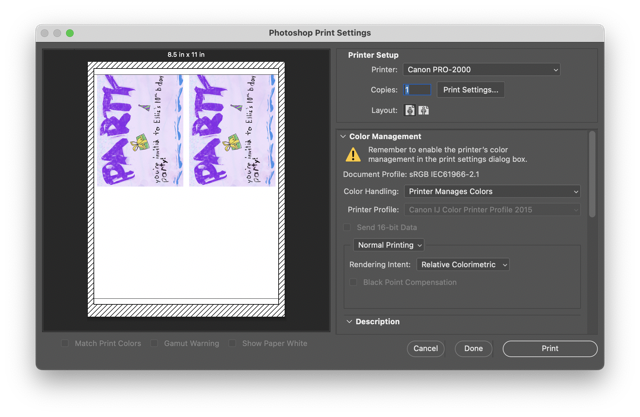
Note: the Paper Size is the total of the printed area and non-printable Area.
Therefore, if you want to have a full 8.5 x 11” print, the Paper Size Height should actually be 24 x 8.75” (8.5 + 0.25" margin = 8.75”)